
Hello, dears!
I recently discovered how easy it is to make your own stamps and use them to decorate all sorts of things – wrapping paper, envelopes, stickers, etc. I decided to make a tutorial for you guys so you can enjoy it too! This is a great craft to do with younger kids. I used it as an art lesson for my elementary-aged class just a couple weeks ago and they had a lot of fun creating their own designs! 😀
At the end of the post, I’ll give you guys a little inspiration on how to use the stamps for holiday wrapping and gifts in particular, but stamps are fun any time of the year. 🙂 Let’s do it!
How to make the stamps
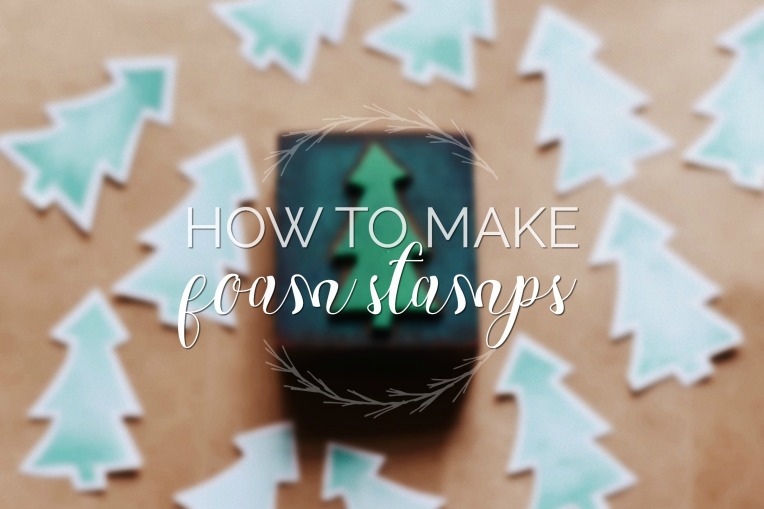
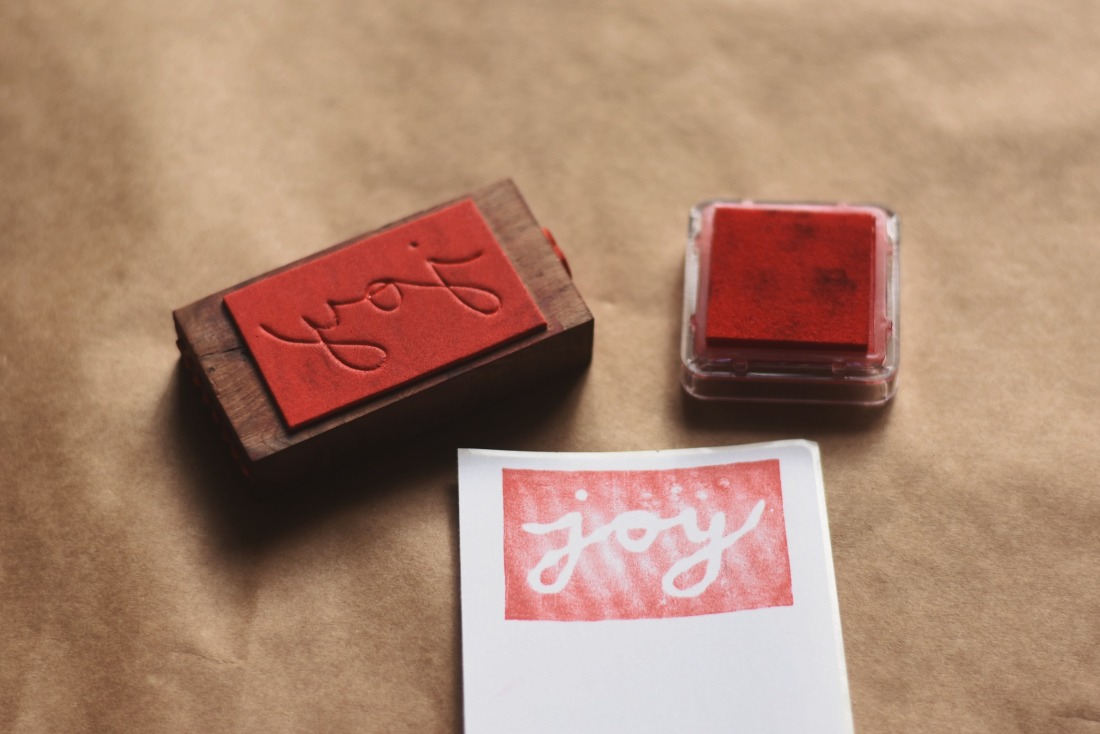
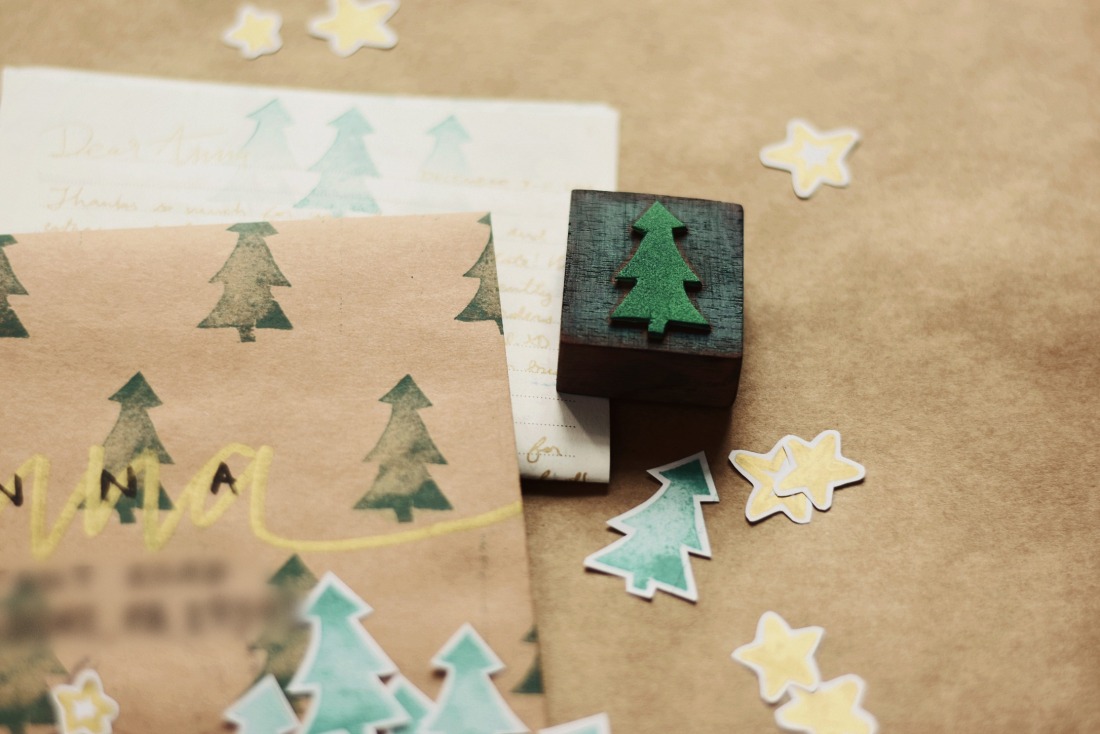
This is what we’re creating today, folks! I’m going to do the stamp tutorials first, and then we’ll move on to using them for stickers and other fun stuff.

making shaped stamps
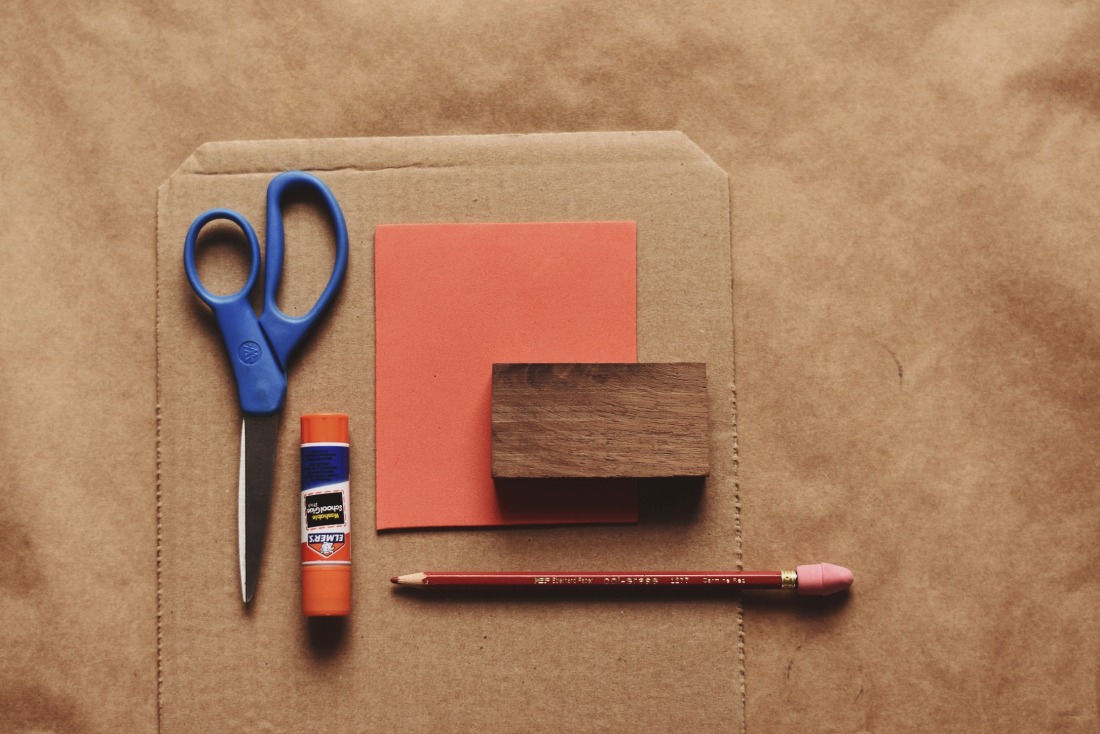
You will need the following supplies:
- craft foam
- scissors
- a glue stick
- a blunt pencil
- a wooden block, or cardboard for an alternative base
- (plus stamp pads or ink to use the stamps after you’re done!)
- Start by sketching a simple shape on a small piece of foam. I recommend using a normal graphite pencil instead of a colored pencil like I’m using. 😛
- Cut out the shape. It’s okay if it’s not perfect – that adds to the charm!
- Optional: add details by pressing a blunt pencil into the foam (a sharp pencil will tear the foam instead of embossing it). The stamp ink won’t reach embossed areas.
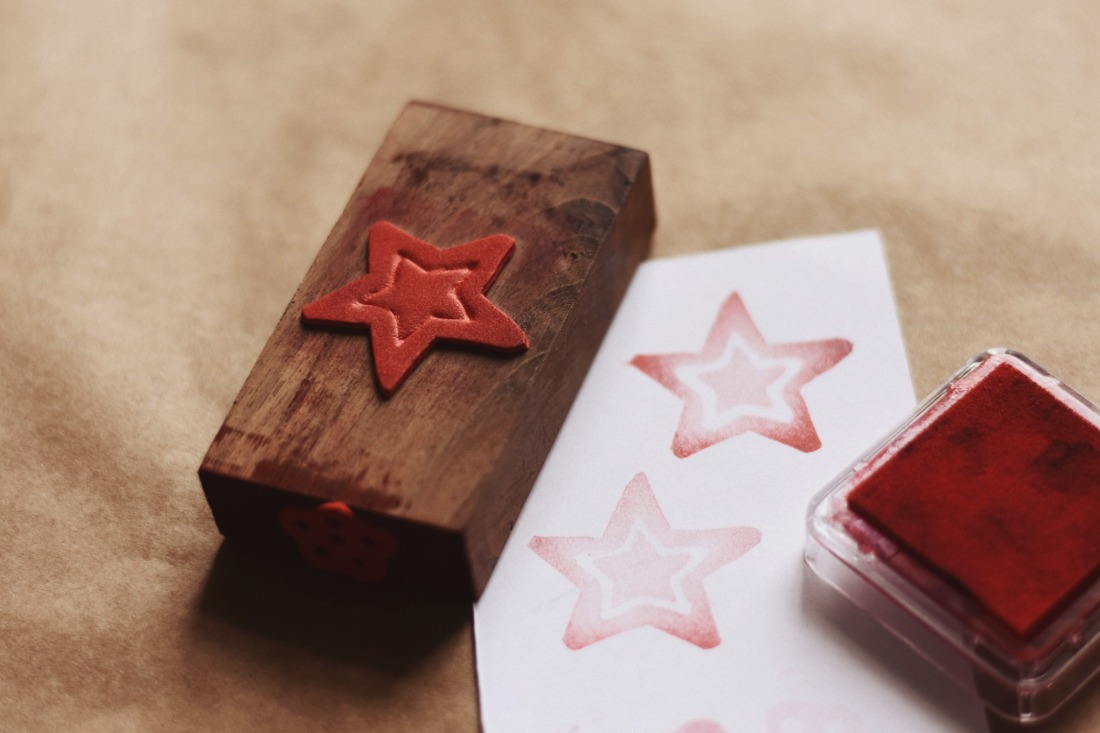
- Glue the foam shape onto a block (keep reading for cardboard base instructions).

Now you can test it out! I love how this turned out, but I think I need a better stamp pad. 😛
making word stamps
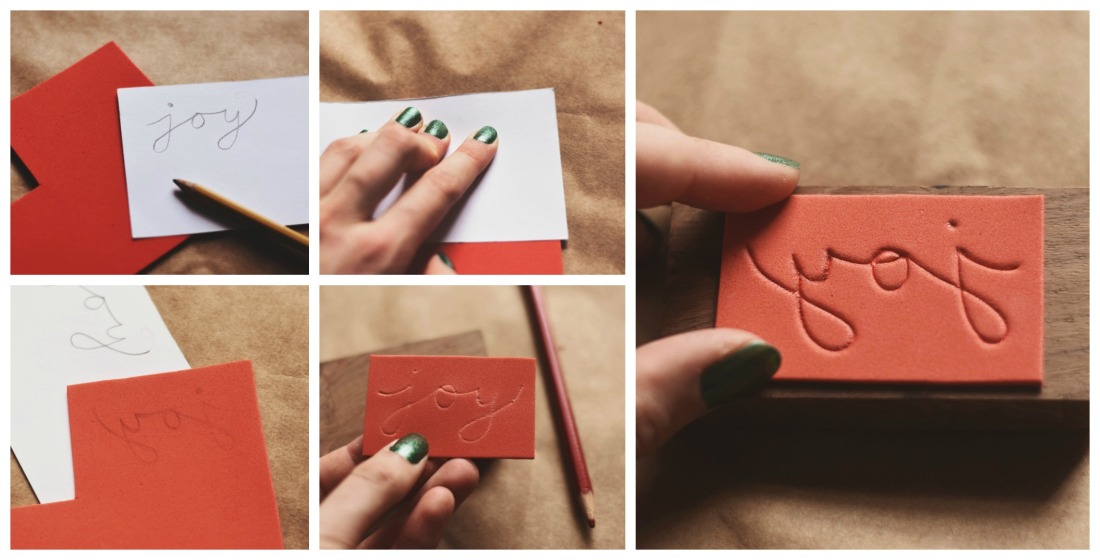
Making stamps that involve letters is a bit trickier since you’ll have to write the letters backward for the stamp to work. Here’s a trick to make that easier:
- Write the word as usual, on a piece of paper with an ordinary pencil.
- Flip the paper over onto a foam sheet and press/smooth down with fingers.
- This transfers the graphite to the foam, so when you pick it up, you should see a print.
- Trace the lines with a blunt pencil as before. If you press hard enough, you can flip the foam over to see if it looks right.
- Glue the backwards side onto a block and you’re done!
You can do all sorts of things with word stamps: write “to” and “from,” stamp your name, customize one for your small business logo, etc.
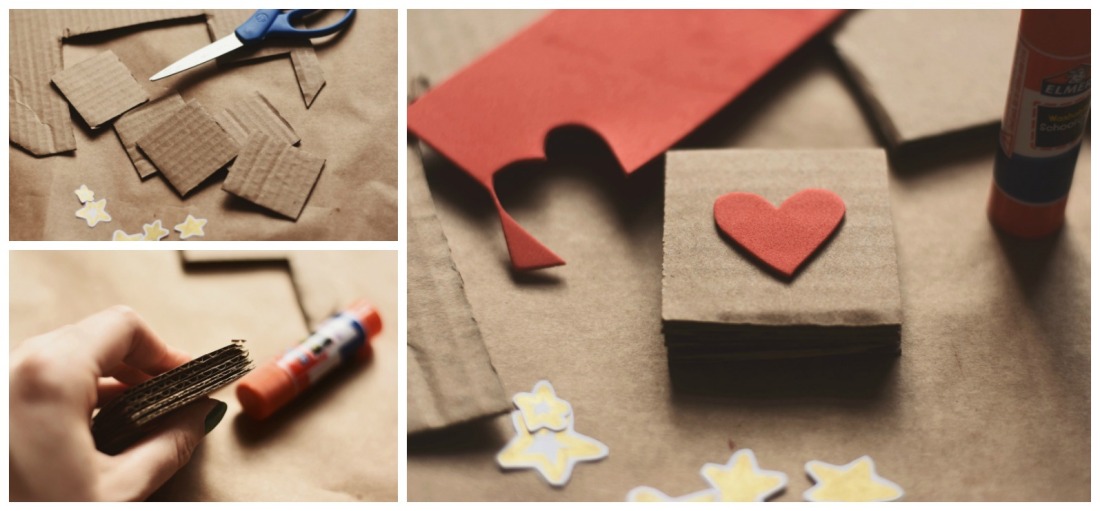
making stamps with cardboard blocks
If you don’t have any wooden blocks handy, you can make your own stamp bases from cardboard.
- Cut several same-sized squares from a sheet of cardboard. I cut five, but the quantity depends on how thick your cardboard is and how tall you want the block to be.
- Glue all sheets together with a glue stick.
- Attach a foam stamp as normal. That’s it!
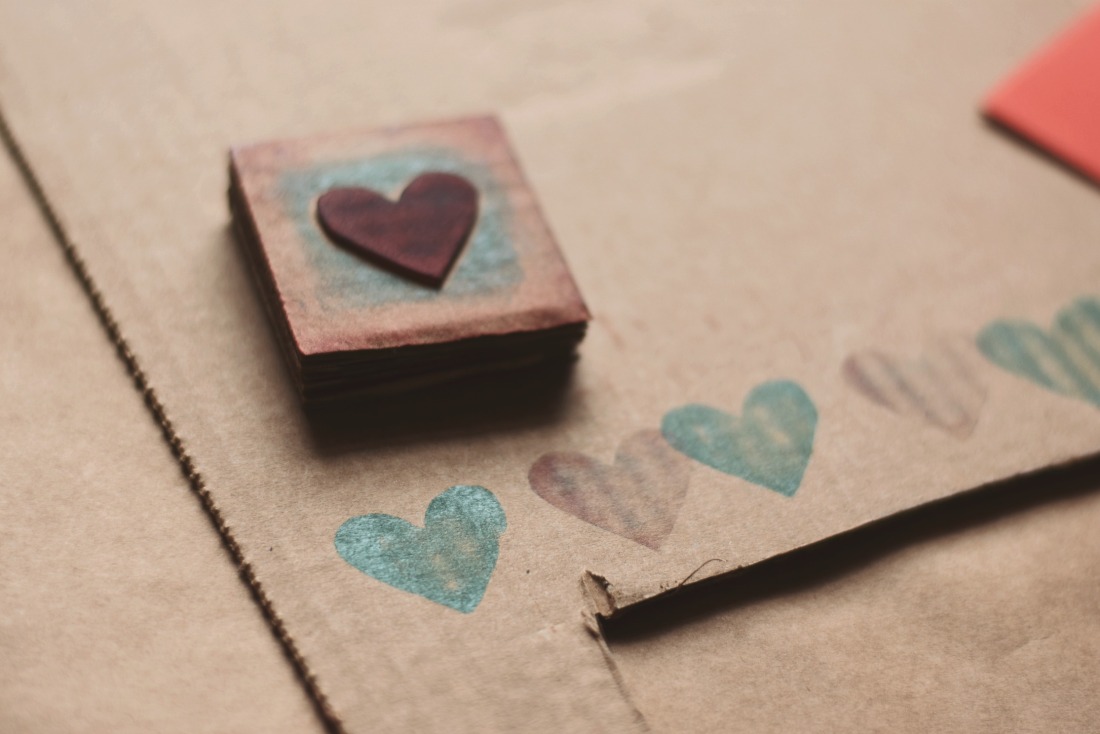
I recommend using wooden blocks or pieces of scrap wood if you have them because they’re sturdier and nicer-looking, but cardboard works in a pinch. See?
More stamp ideas
- Cut out shapes instead of embossing lines. I used a small hole puncher to make this honeycomb flower thingy. 😛
- Use the leftover hole punches to make dot stamps. (Also TIP: I glued shapes to all the sides of the wooden block except two for holding. That way you can have four-in-one!)

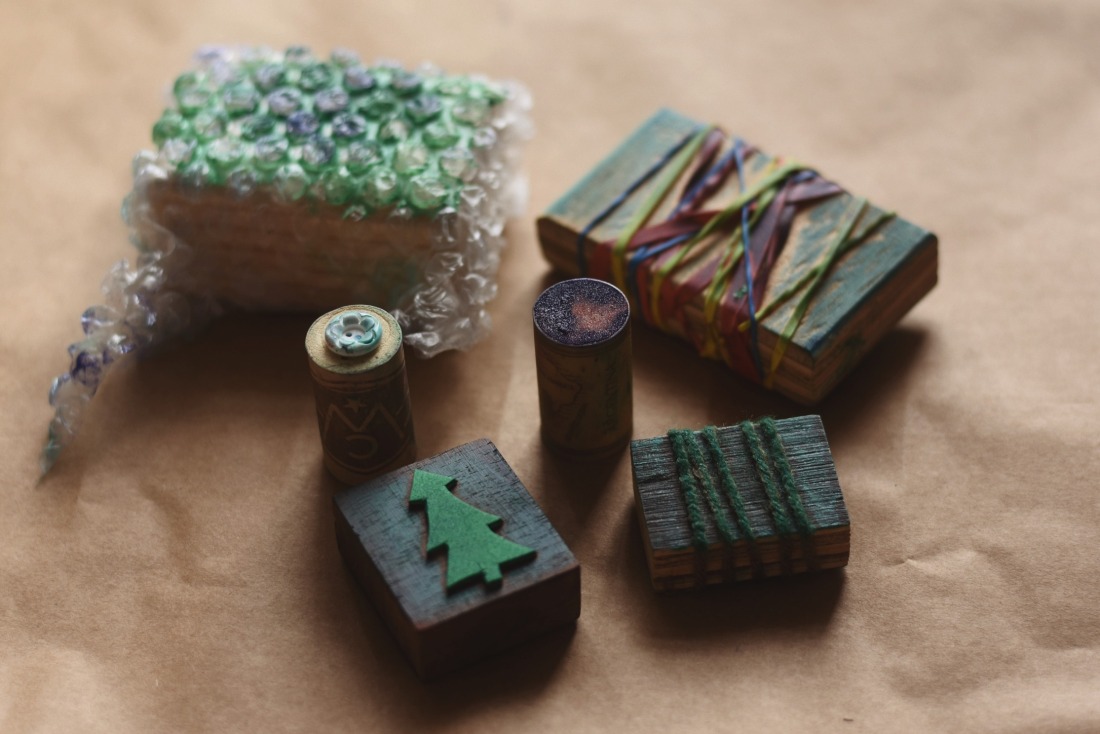
If you don’t have craft foam, you can make stamps from tons of other household items, like…
- bubble wrap
- rubber bands
- buttons
- corks
- yarn
Using your stamps
Now for the fun part: let’s start stamping!
Decorating with stamps
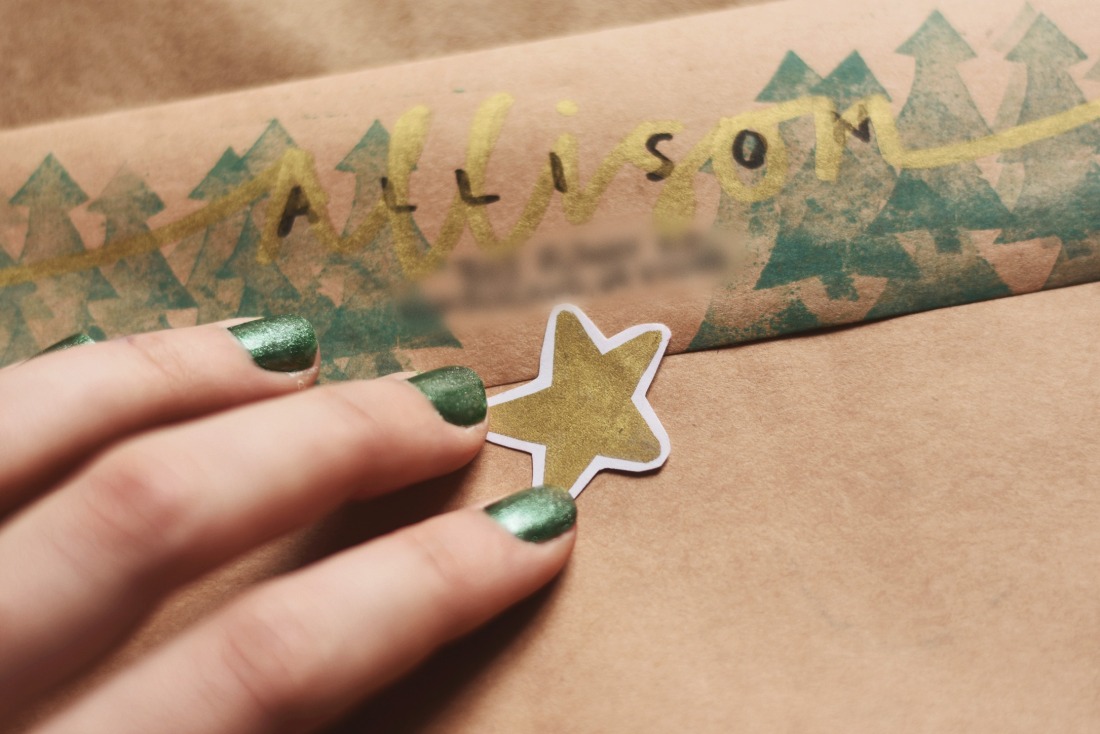
Custom stamps are great for letter-writers. 🙂 Use them to quickly and easily decorate envelopes – brown kraft envelopes look especially nice with ink. Also, stamp along the top of your letter paper for easy matching stationery!

On a similar note, use stamps like this Christmas tree one to decorate cardboard boxes and gifts wrapped in brown paper for a unique, minimalist look.
making stamped stickers
This is maybe my favorite idea. It’s so much fun, and who doesn’t love stickers?

You will need matte sticker paper for this, which you can get on Amazon (here, for instance). All you have to do is stamp onto the sticker paper and cut it out, leaving a white rim to make it look more sticker-like. Time-consuming, yes, but much faster than drawing on each sticker by hand!

I also made some stickers with a gold Sharpie that I think turned out lovely.
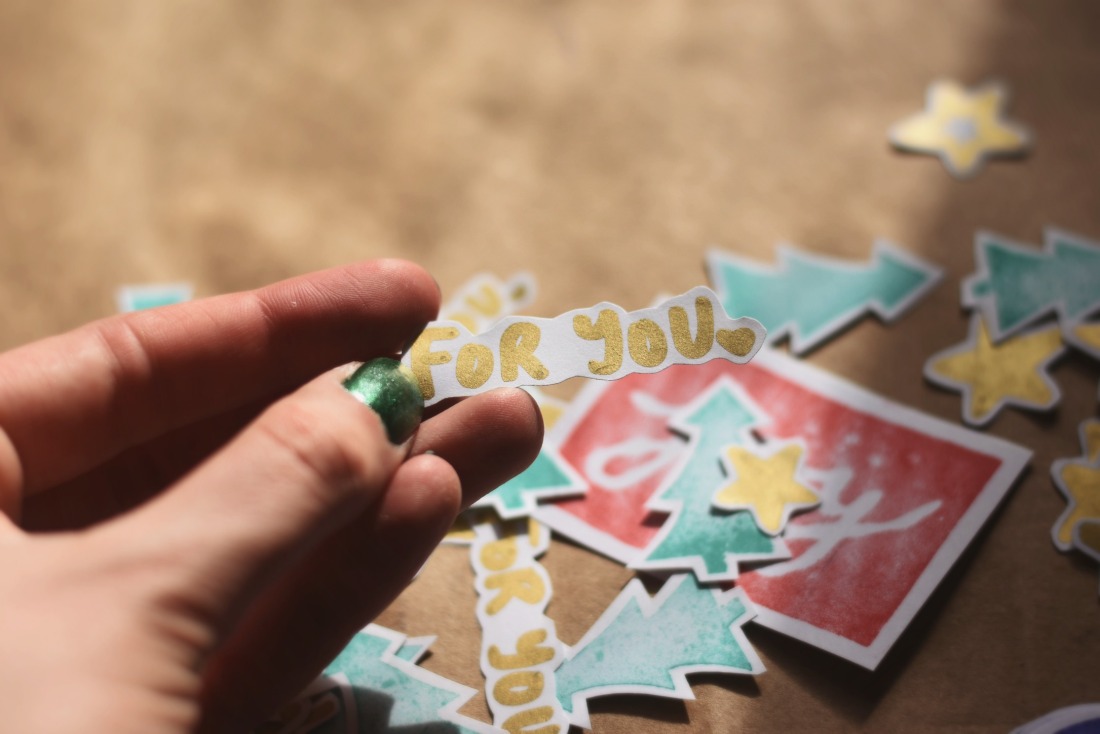
These stars are great for sealing envelopes or adding a little sparkle to whatever you wish. 🙂
Okay, I had maybe a little TOO much fun making stickers? XD It was quite satisfying to me, for some reason. These would make great gifts if you package them up in a little cellophane bag or send some with a letter. You could also gift a block stamp – or stickers and a stamp together!

Yay, that was a fun post to make. I hope you enjoyed reading it and got a little inspiration from the tutorials and ideas in here. 🙂 Feel free to pin this post for future reference!
Would you make some stamps? What design(s) would you create?
Thanks so much for reading, dears, and have a lovely day!
***Allison***
P. S. Photos taken with my Nikon D3400 and a 50mm lens. Edited with picmonkey.com.


Woah! How cute! 😍 Those are all so cute. I’ll definitely be making some. ✌
LikeLike
Ahh, thanks! YAY! I hope you enjoy them. 🙂
LikeLiked by 1 person
Of course!
LikeLike
I love this idea! Beautiful stamps!!!
LikeLike
Thanks so much, Kendra!
LikeLiked by 1 person
Woah! This is an amazing idea, that I may actually have to try out!
LikeLike
Aww, thanks! I hope you get a chance to try it. 🙂
LikeLiked by 1 person
Sweet Idea! I Love it. Good job
LikeLike
Why thank you! 🙂
LikeLiked by 1 person
Ahhh, so pretty Allison! This is such a great idea – I’ll have to try it sometime! 🙂
LikeLike
Thanks so much, Hannah! I think you’d really enjoy it! 🙂
LikeLiked by 1 person
Definitely pinning this! 😀
This is soooo cool! Can’t wait to try it! (If I can find some craft foam. ;))
LikeLike
Yayyy, I appreciate it. 🙂
Hurrah! (I know, that’s the hardest part, right? I got mine from Walmart!)
LikeLiked by 1 person
Haha, so true, though. XD
Oh cool! Thanks for letting me know! 😉
LikeLiked by 1 person
Ah I love this! AND I SPY A LETTER PERHAPS TO ME?? 😂
LikeLike
THANK YOU. And heheheh, YOU’RE RIGHT! I’m going to send it tomorrow! 🙂 ❤
LikeLiked by 1 person
Ooh! I’ve always wondered how you make your stickers. Thanks for this lovely tutorial!
(Also, your letters will be coming soon! 🙂 )
LikeLike
Aww, thanks! My pleasure!
(And YIPPEE!)
LikeLiked by 1 person
Wow! Talk about talent!
LikeLike
Aww, so sweet. ❤
LikeLiked by 1 person
❤
LikeLike
So creative and so cute 😊
LikeLike
Why thank you!
LikeLiked by 1 person
This is soooo cool! Thanks Allison! I remember when I was little making stamps cut of of potatoes and fruit! 🙂 That was fun and made great wrapping paper! 🙂
LikeLike
Thank youuu! Oh yeah, I’ve done that before and it’s pretty fun! They don’t last very long, though, but they’re super fun to make. 🙂
LikeLike
Wow! Fantastic ideas, Allison!
-Jewel
https://treasuredscript.com/
LikeLike
I’m so glad you like them, dear! Thank youuu!
LikeLiked by 1 person
OOh I love those!!
LikeLike
I’m so glad! 😀
LikeLiked by 1 person
These are such a cute, fun, and creative idea! Thanks for sharing the tutorial!
LikeLike
Thanks so much, Hannah! It was my pleasure! 😀 So glad you enjoyed. 🙂
LikeLike
Ohh! These are so pretty! I REALLY love the stickers, I am going to be trying this for sure! 😀 Awesome post! 🙂
-Laura ❤ 🙂
LikeLike
Woohoo! Thanks so much, Laura! I hope you enjoy it. 🙂
LikeLiked by 1 person
I love these ideas!! Your stamps turned out so cute and pretty! 😍💜
LikeLike
Ahh, thank you!
LikeLike
This is so helpful! I really want to make some stamps. 🙂
LikeLike
Well YAY! 😀
LikeLiked by 1 person
I love this! I really want to make some stamps with craft foam. It looks so easy and fun! I’m definitely going to save this post. 🙂
LikeLike
Yay! It really is easy and fun. 🙂 Hurrah!
LikeLike
There is something beautiful and eclectic about your stamps, themselves. Perhaps Victorian or some other antique era. Non-the-less. I love your stamps. I think they are beautiful! Thank you for sharing!
LikeLike
Why thank you! I rather like the stamps as well, and I’m so glad you find them beautiful! Thank YOU for reading! 🙂
LikeLike
Awesome! Will save to try it sometime😁
LikeLike
Why thank you, dear! 🙂 ❤
LikeLiked by 1 person
What is the brand of green nail polish you are wearing?
LikeLike
Um… let me go check. It is “Sinful Colors.” (What a lovely name. 😛 )
LikeLike
So fun! I’ll have to try this sometime!! 😀
LikeLike
Yay! 😀
LikeLiked by 1 person
This craft is surely my favorite and it is also very unique.👍👍😆😆
LikeLike
Thank you so much! 😀 Glad you enjoyed. 🙂
LikeLike