
Today I will show you how to make a name-letter-photography-accordion-card-thingy. Umm, let’s try that again. Today I will show you how to make a personalized name photo card. Much better. See, it’s this neat card that you accordion-fold, then paste pictures of letters onto it so… *sigh* this isn’t going too well. I guess I’ll have to show you a picture.

Ahh, there we go. That ↑ is what we’ll be making today. If you want to make another name or word besides “Grandaddy,” you may have to fold and assemble more or accordion folds, depending on the number of letters in the word. As you can see, “grandaddy” has nine letters (I know right, I can count all the way up to nine!) so I needed nine blank rectangular sections of paper – one for each letter.
Let’s get started!
You will need:
• Paper – if you have any long, stiff paper like brown craft paper or thick wrapping paper, you could use that, but I will show you how to make this out of just plain cardstock.
• A camera
• A printer (or some method of getting your photos on paper)
• Scissors or a papercutter
• Tape or a glue stick
• Colored pencils, markers, etc. if you want to decorate or write on the front of the card
Now then, here’s how to make it.
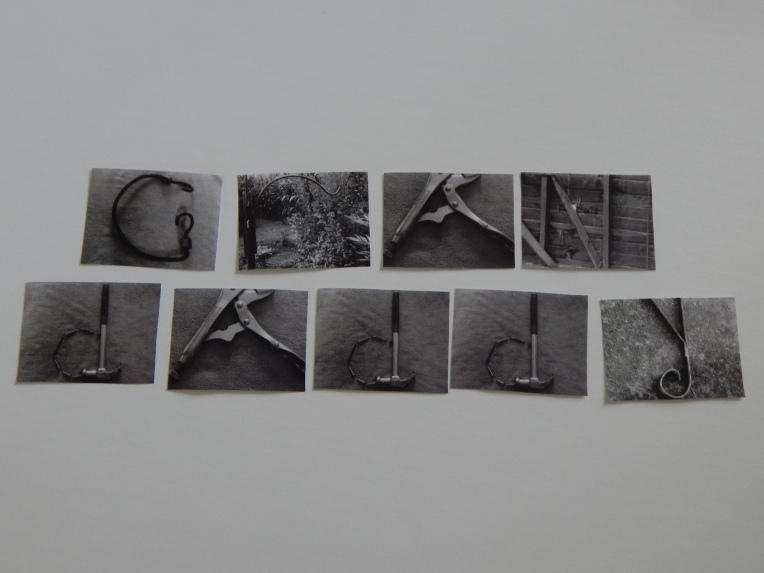
- Take pictures of things that look like letters. I found my “n” on an inside wall of a barn, the “a” from the lower half of a pair of vicegrips, and the “g” from a bungee cord. For some of the letters I used a beach towel for the background. (Please don’t use my actual pictures, but I certainly don’t mind if you use them for inspiration. If you have any questions, feel free to ask me in the comments.)
- Turn the pictures black and white. Black and white or sepia tones just make the pictures more uniform, and lets you focus on the letter instead of the background. I turned mine black and white on my camera, but you can use a photo editing program if you want.
- Print and cut out your pictures. I pasted my pictures onto a Microsoft Word document. Then for each picture I right clicked on the photo, clicked “size and position” on the pop-up, changed the height to 2 inches, and pressed enter. And hopefully you already know how to cut out pictures.
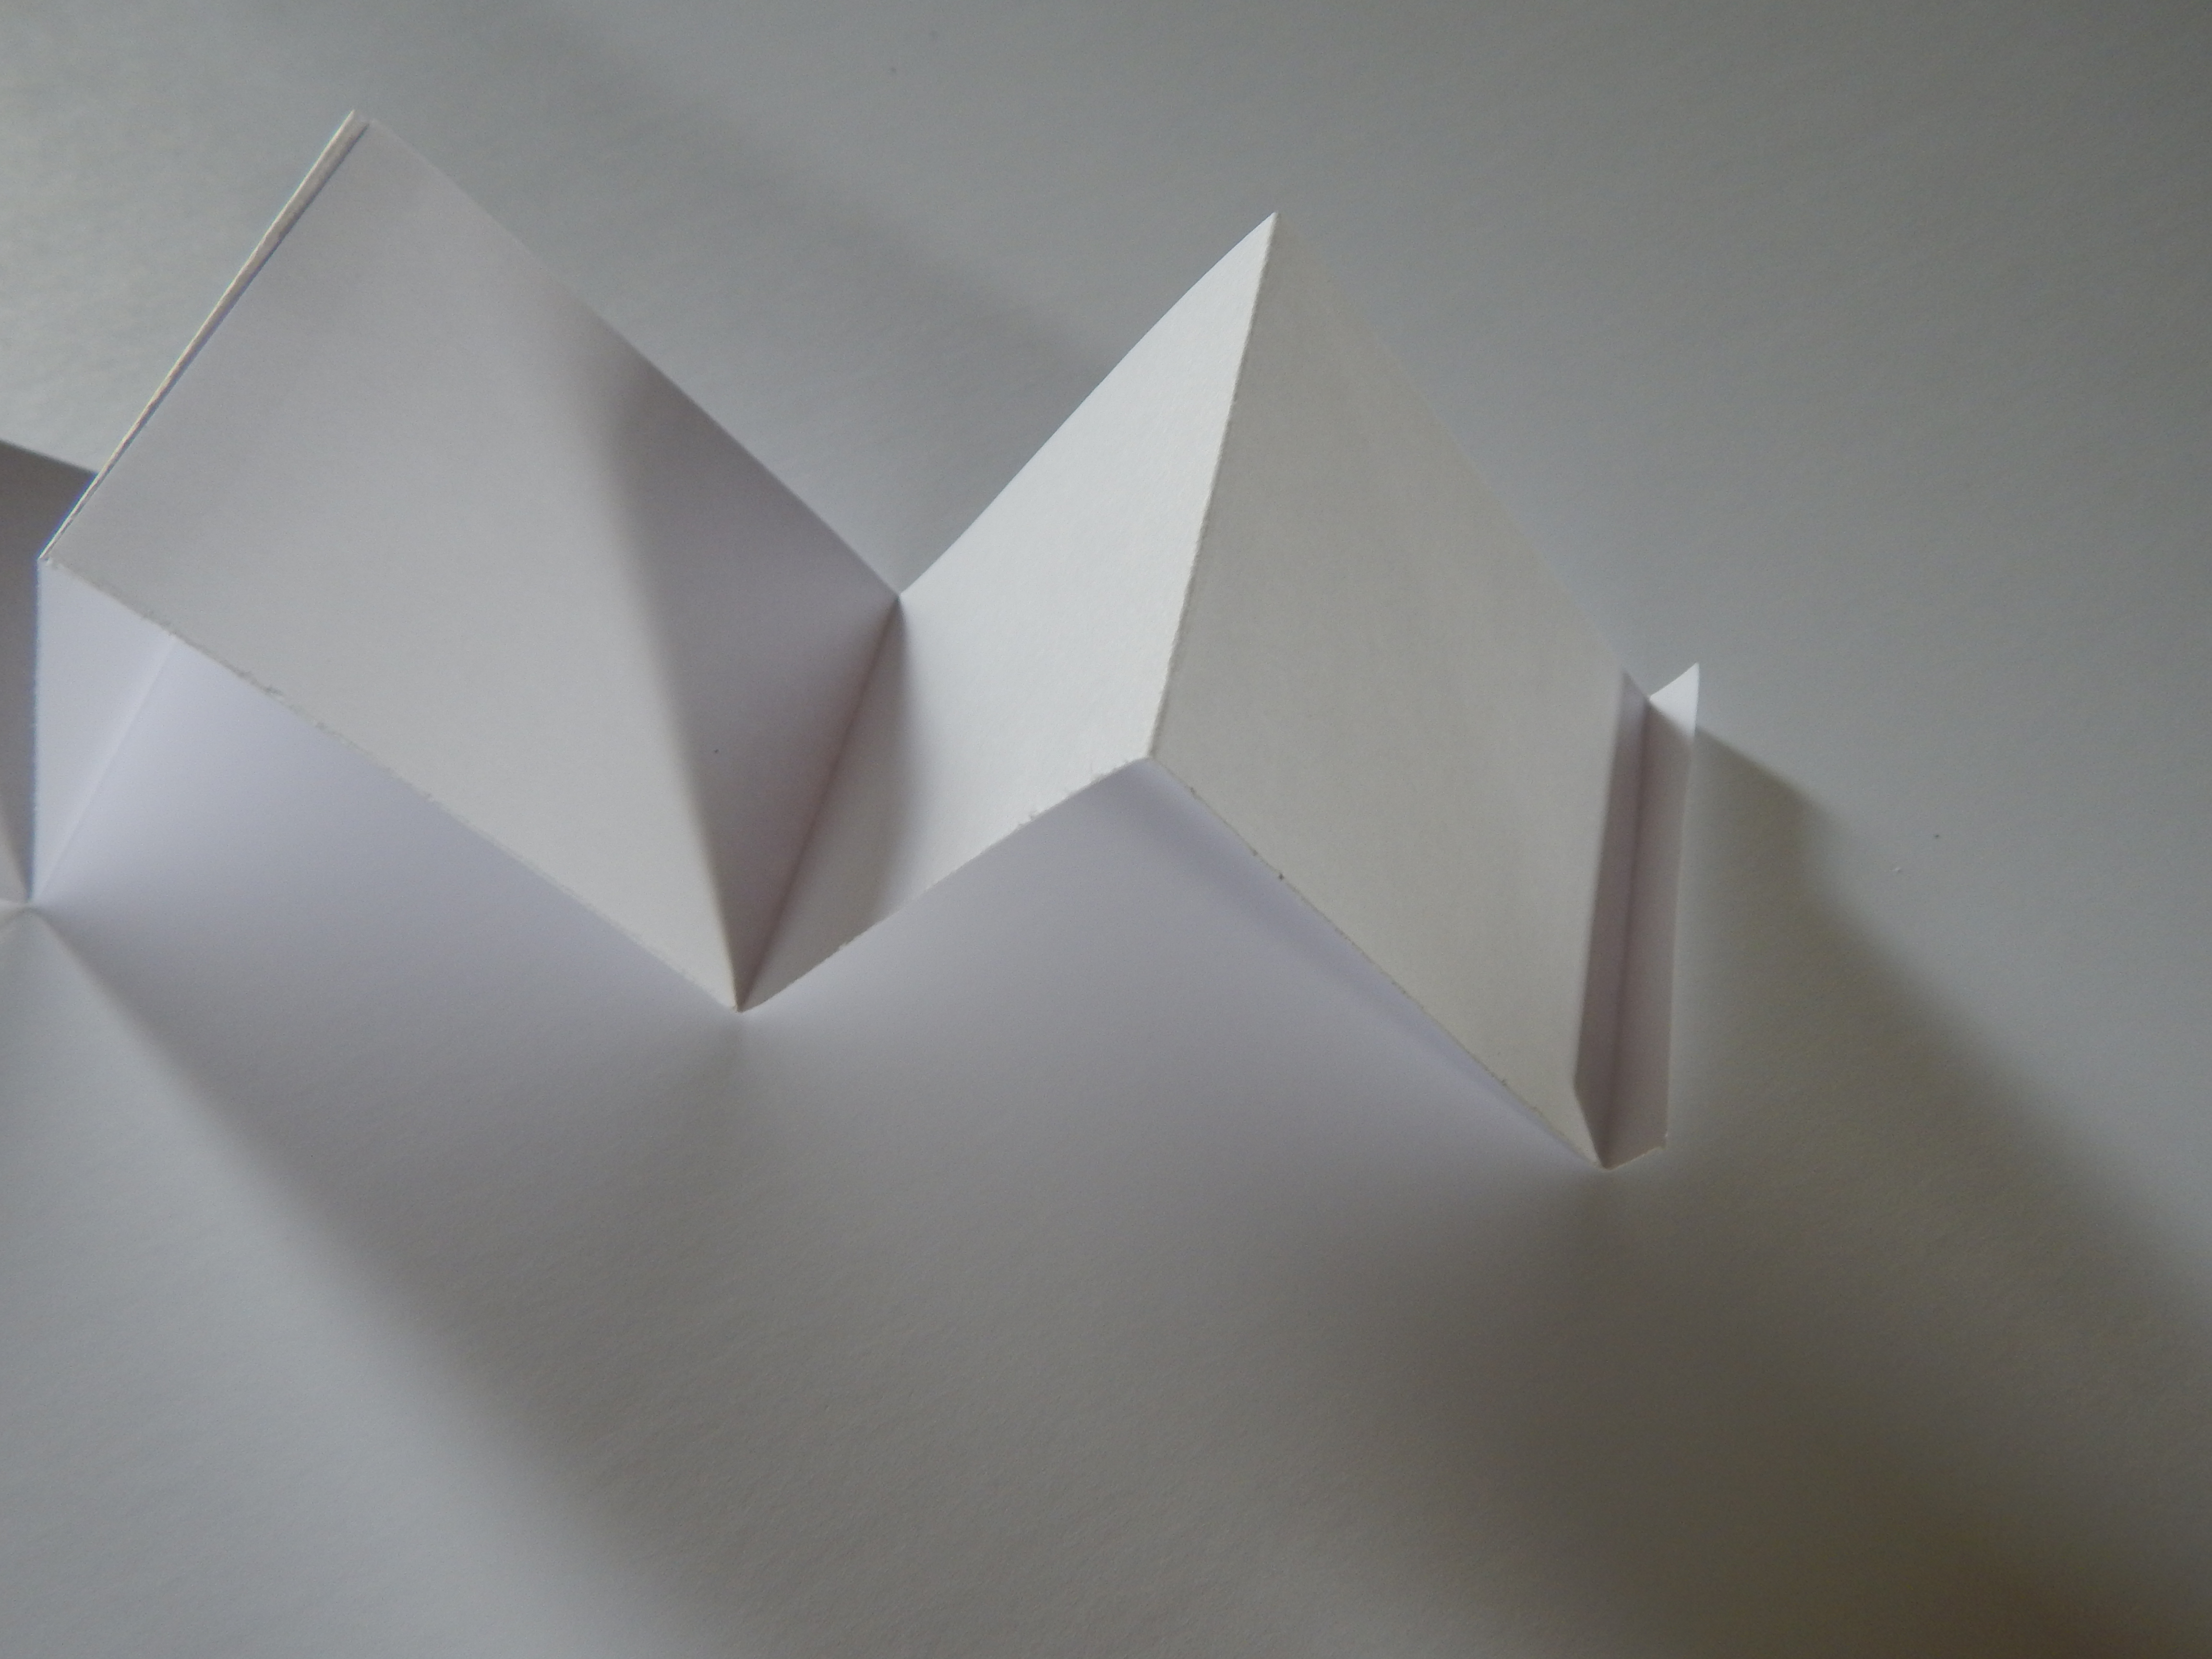
- Prepare your card. For this step I cut a sheet of cardstock into 3 equal pieces, and accordion folded each piece into 3 equal sections, with a little extra tab on the end.

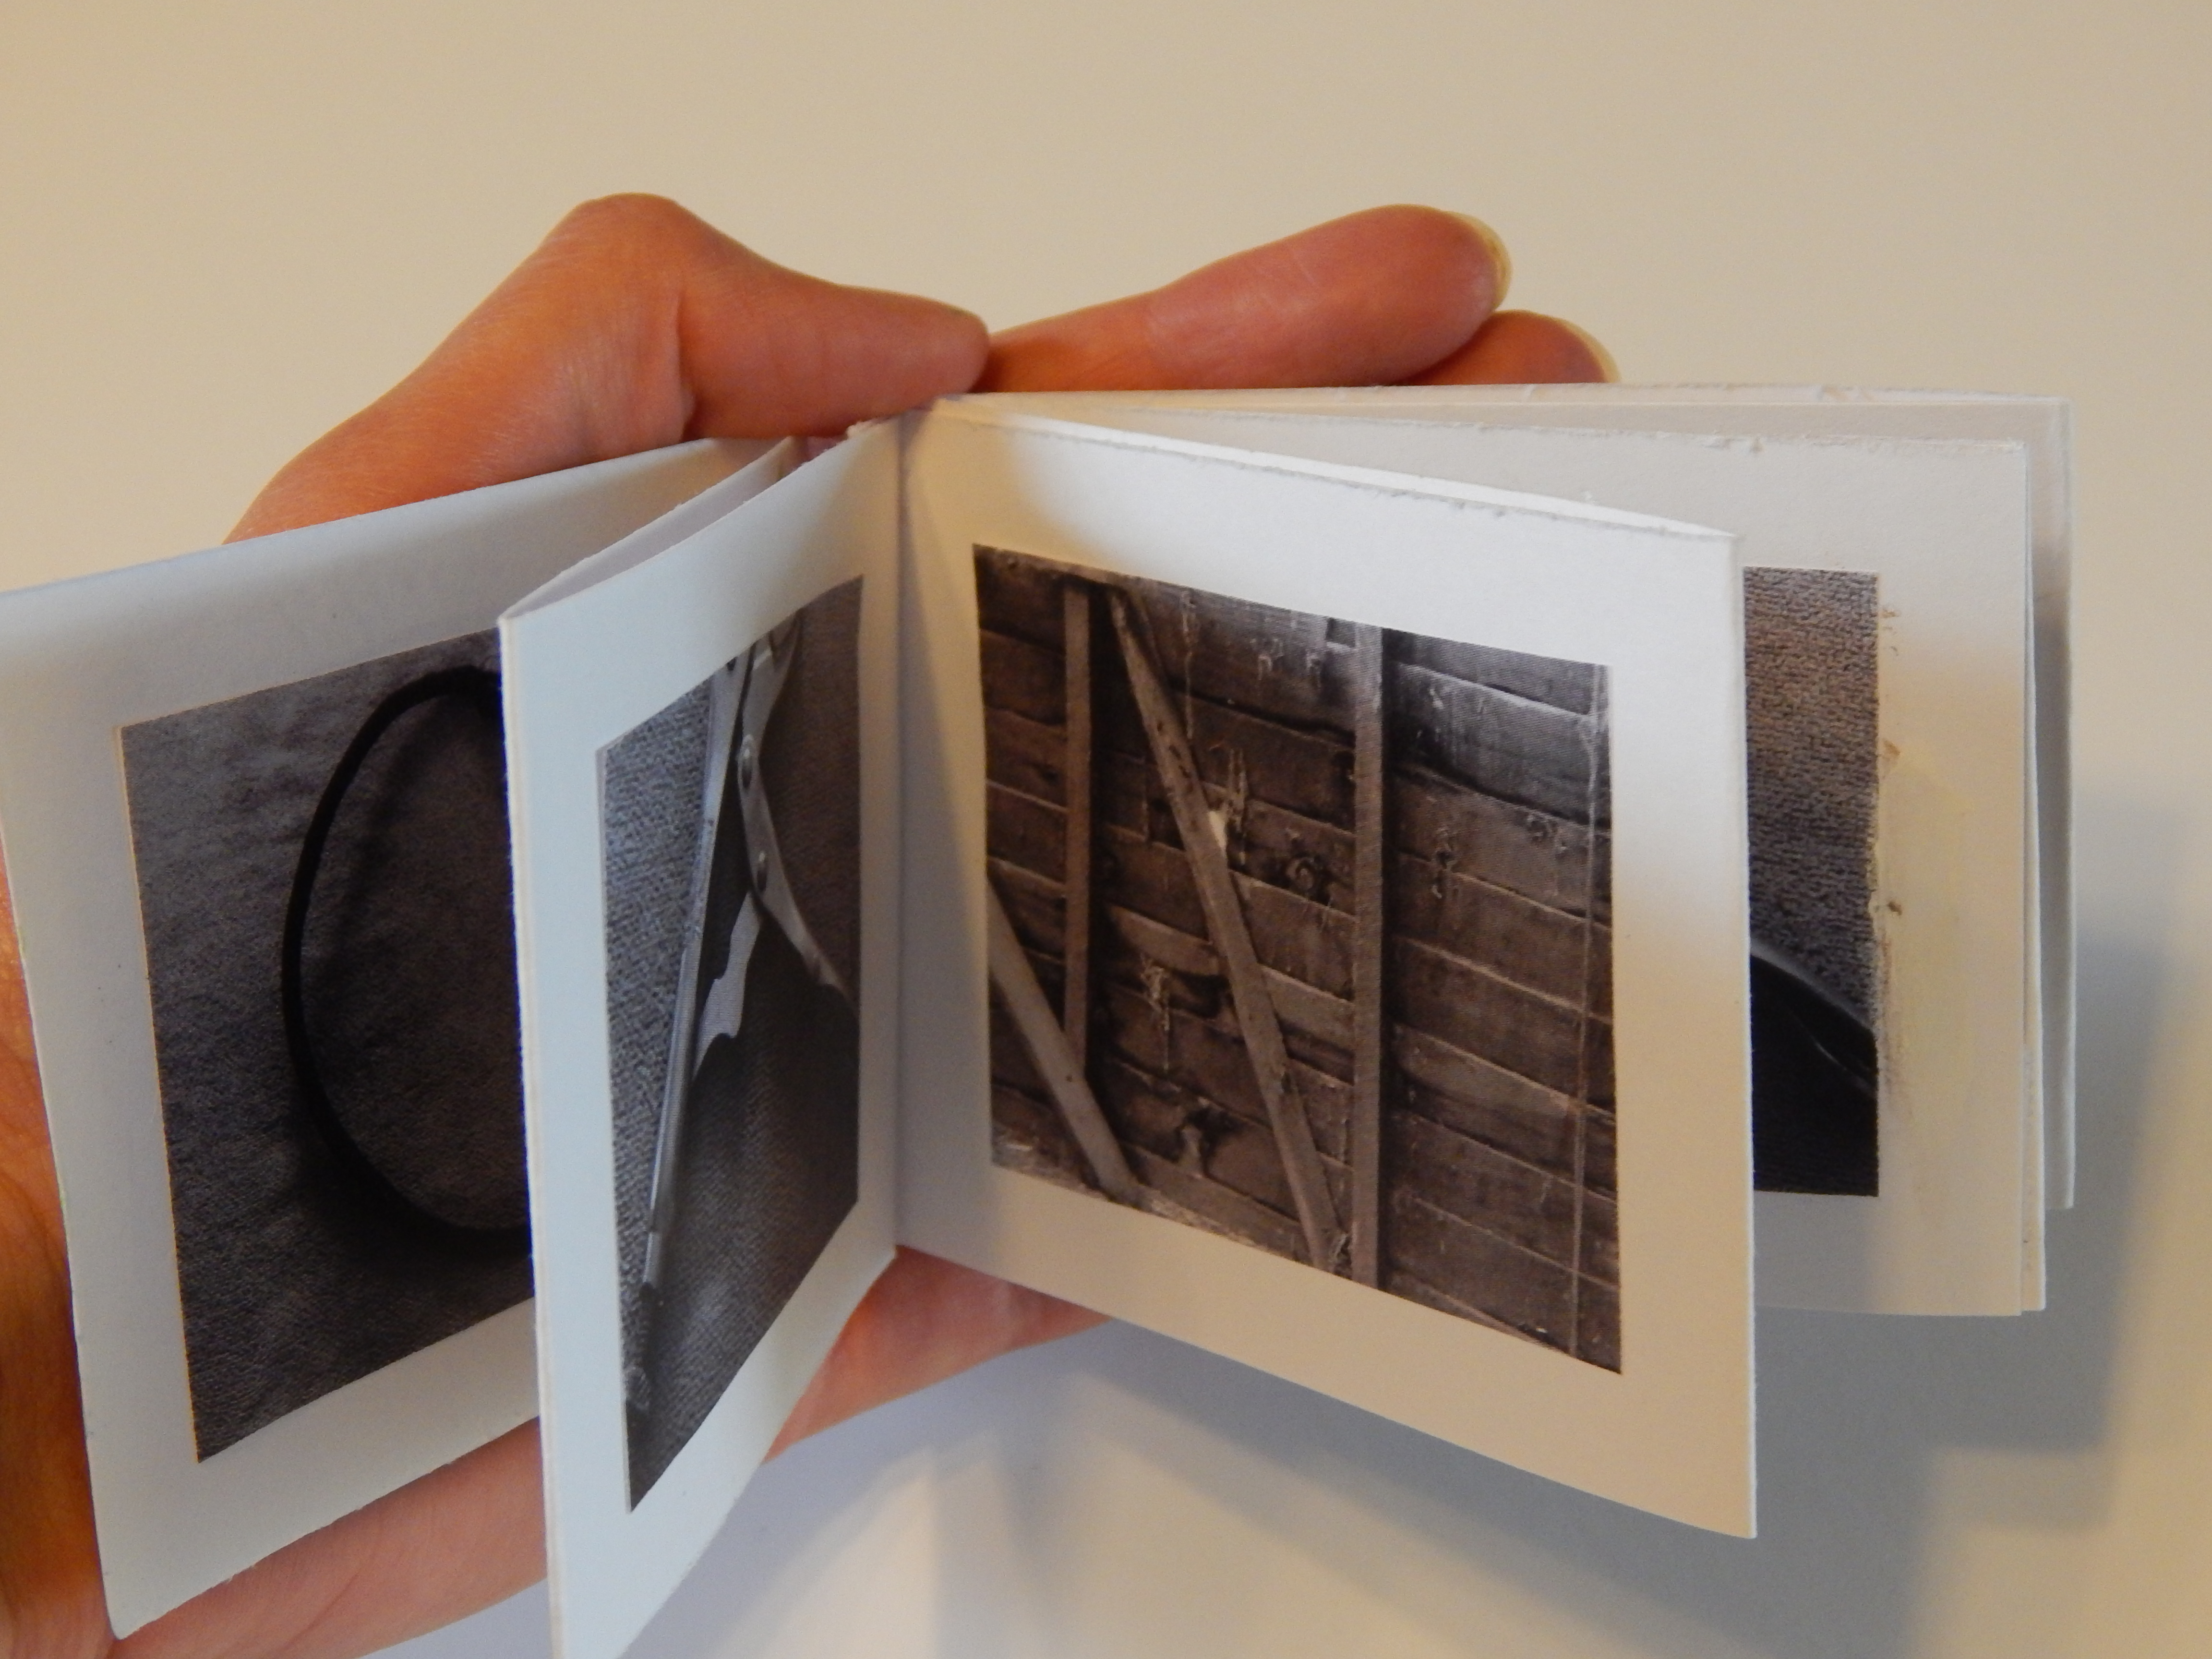
- Assemble your card. Put tape on the little tab at the end of two of the accordion folded sections, and cut the tab off of the last one. Use the taped tabs to connect all of the folded sections into one long piece. Now tape or glue the letter pictures onto each blank rectangle on one side of the paper strip.
- Decorate your card. Using whatever materials you wish, decorate the other side of the card. The front of the card, the part that you see when you fold it up, will be on the back of the first letter (in my case on the back of the “g”).
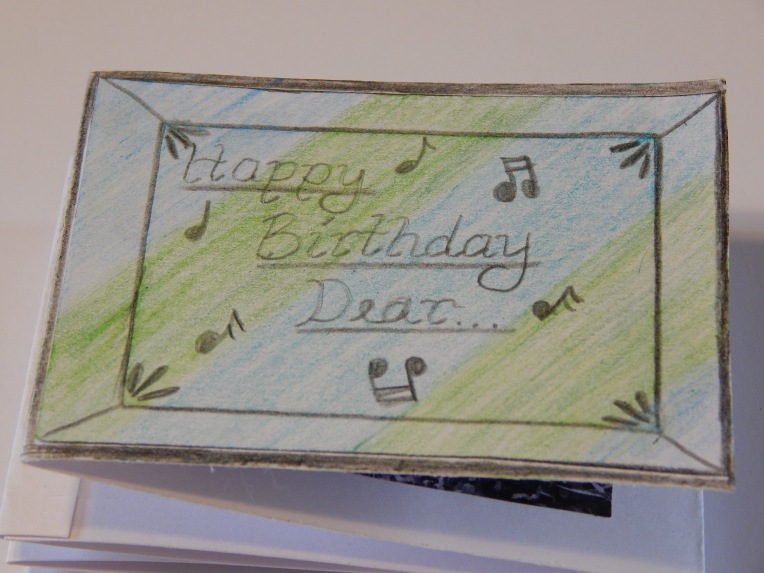
- Put on the finishing touches! Fold the card so the message is the first thing you see (like in the picture above), with all the letters following in order when you open it up. And you’re done!


This is a great gift for anyone, and you could even do the words of a bible verse, random words like “family,” “I love my cat Snuffles,” whatever! It would also be neat to take pictures for all the letters in the alphabet (which would be super hard) and leave the letter that begins your name colored instead of black and white. Have fun with this!
***Allison***


What a neat idea!! 😁
*Sunny
LikeLike
Thank you! I think so too. 🙂 I saw a shop once that had lots of black and white photos of letters like this, and I thought “I could do this,” so I did!
LikeLiked by 1 person
You’re welcome! I’m really glad you decided to try it, because it worked out great! 😀
*Sunny
LikeLike
🙂
LikeLiked by 1 person
Woah!!!! I am gonna try it…. 😍
Thanks for the inspiration.👍
LikeLike
Yay! You’re quite welcome!
LikeLiked by 1 person